Week 2
Photoshop
Turn off those annoying pop videos.
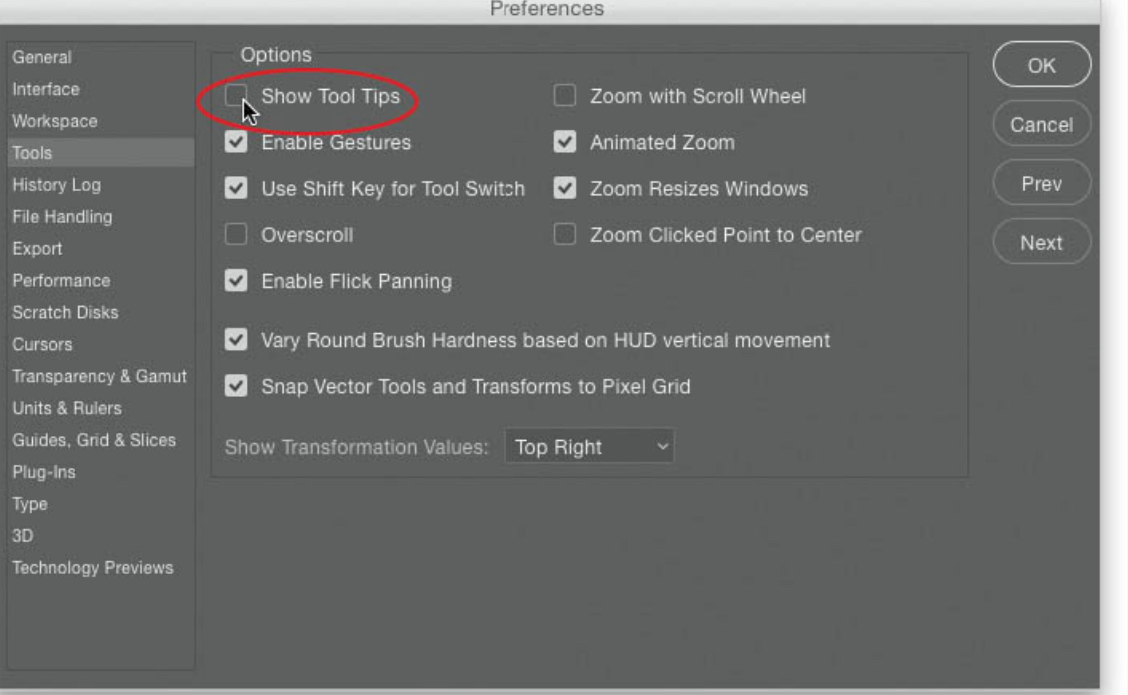
First set this up and add to the menu bar
- You can move the tools to where you like.
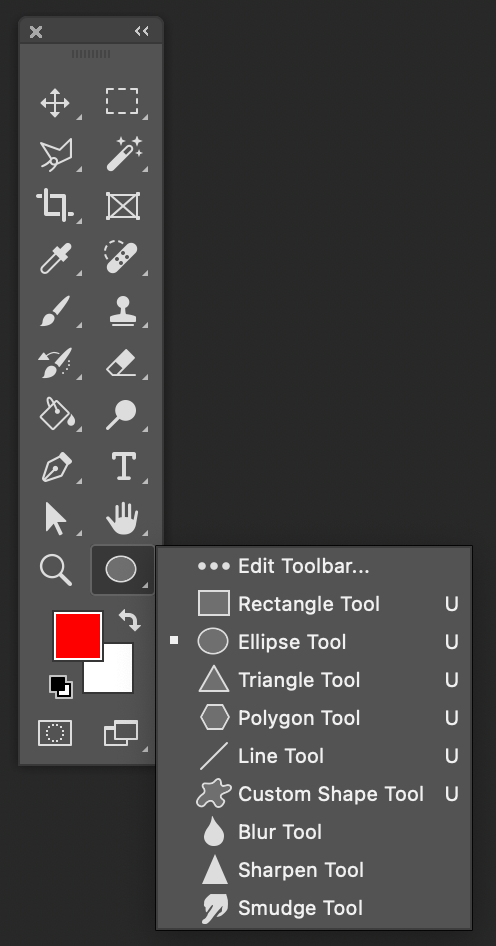
The toolbar looks like this as a default:
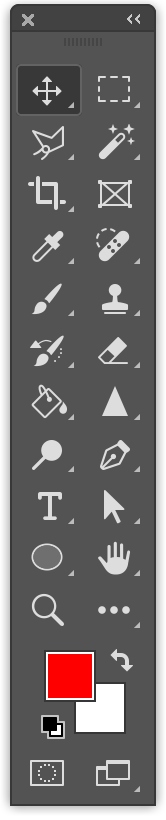
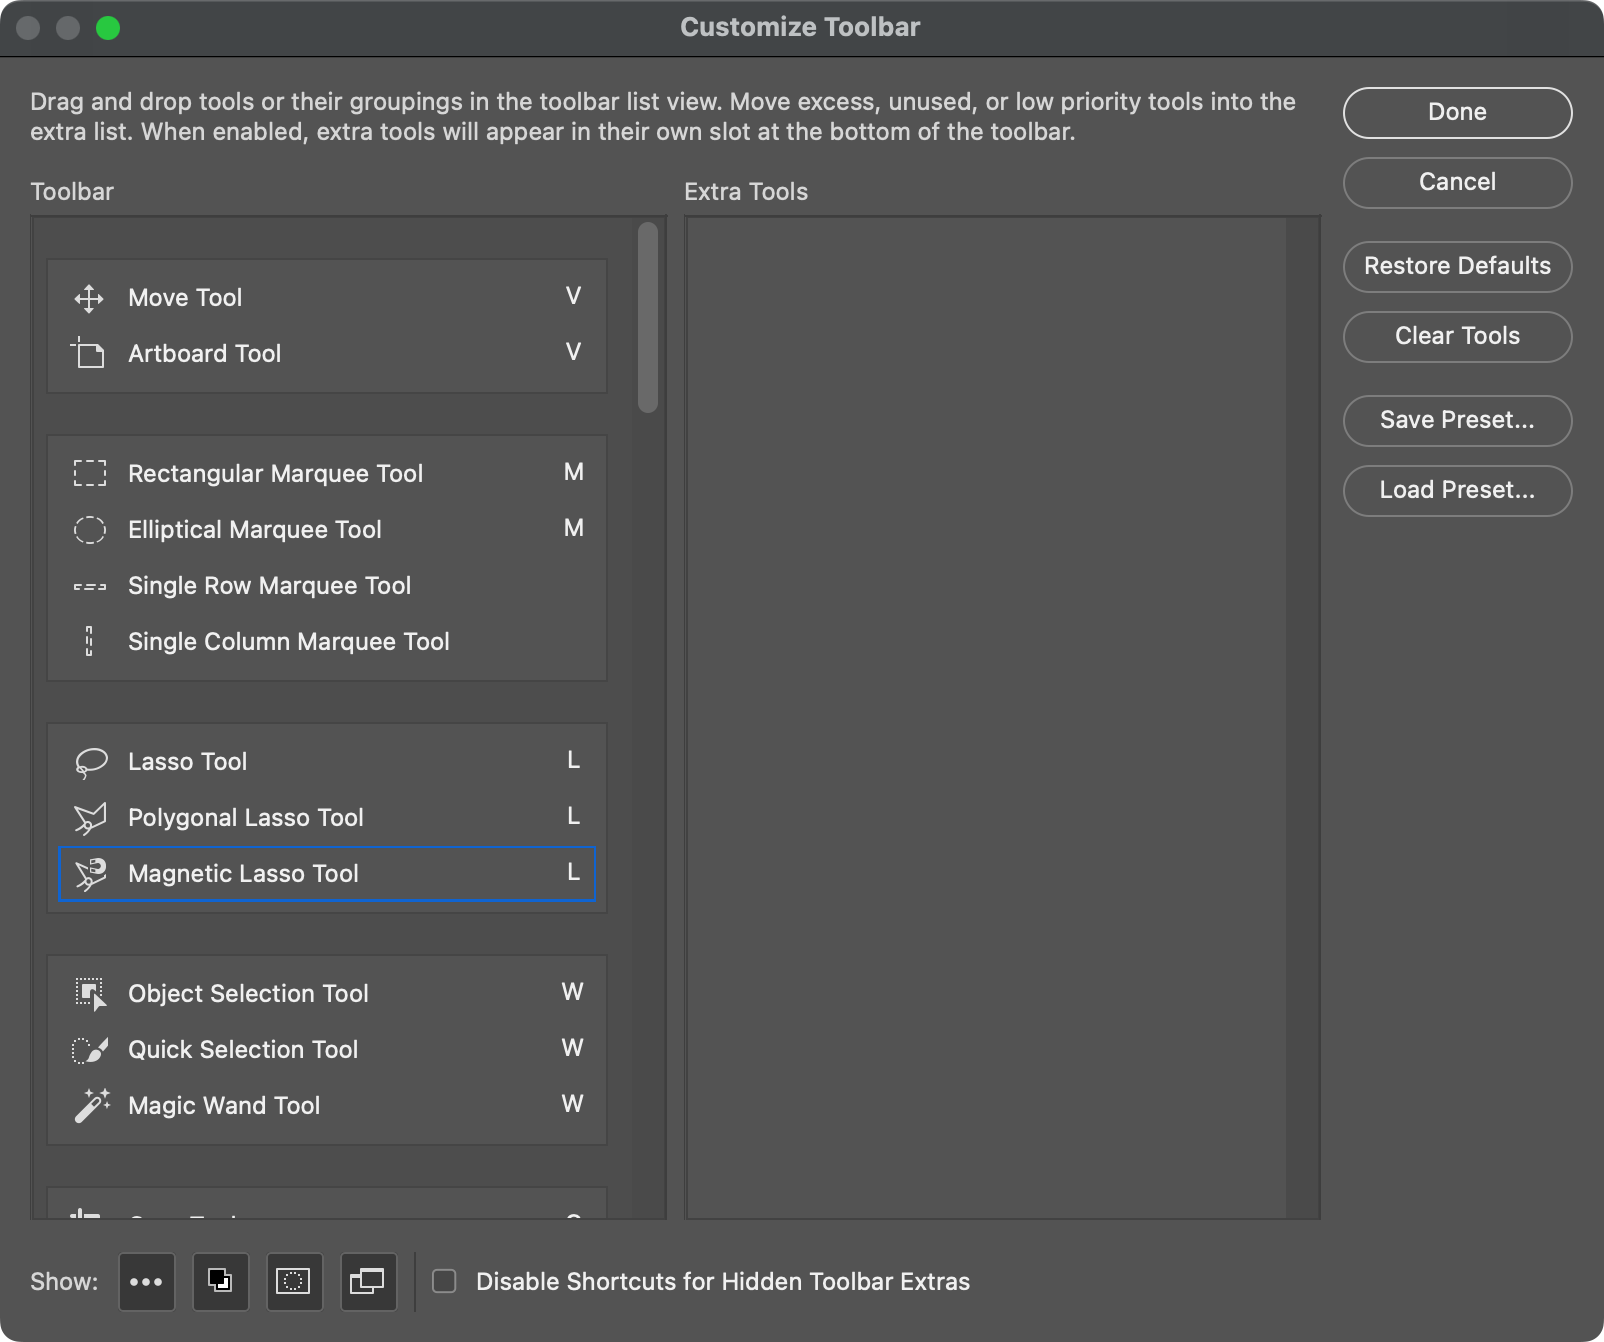
But you can add more tools to this bar
All windows and actions are under the Window menu, but you can make sure that frequently used panels are available through your custom set up.
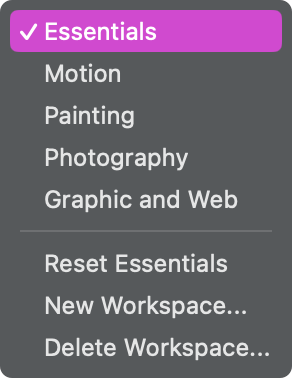
On the top right you will see some provided workspaces:
Tip
But you can create your own
Organise your spaces; here is an example:
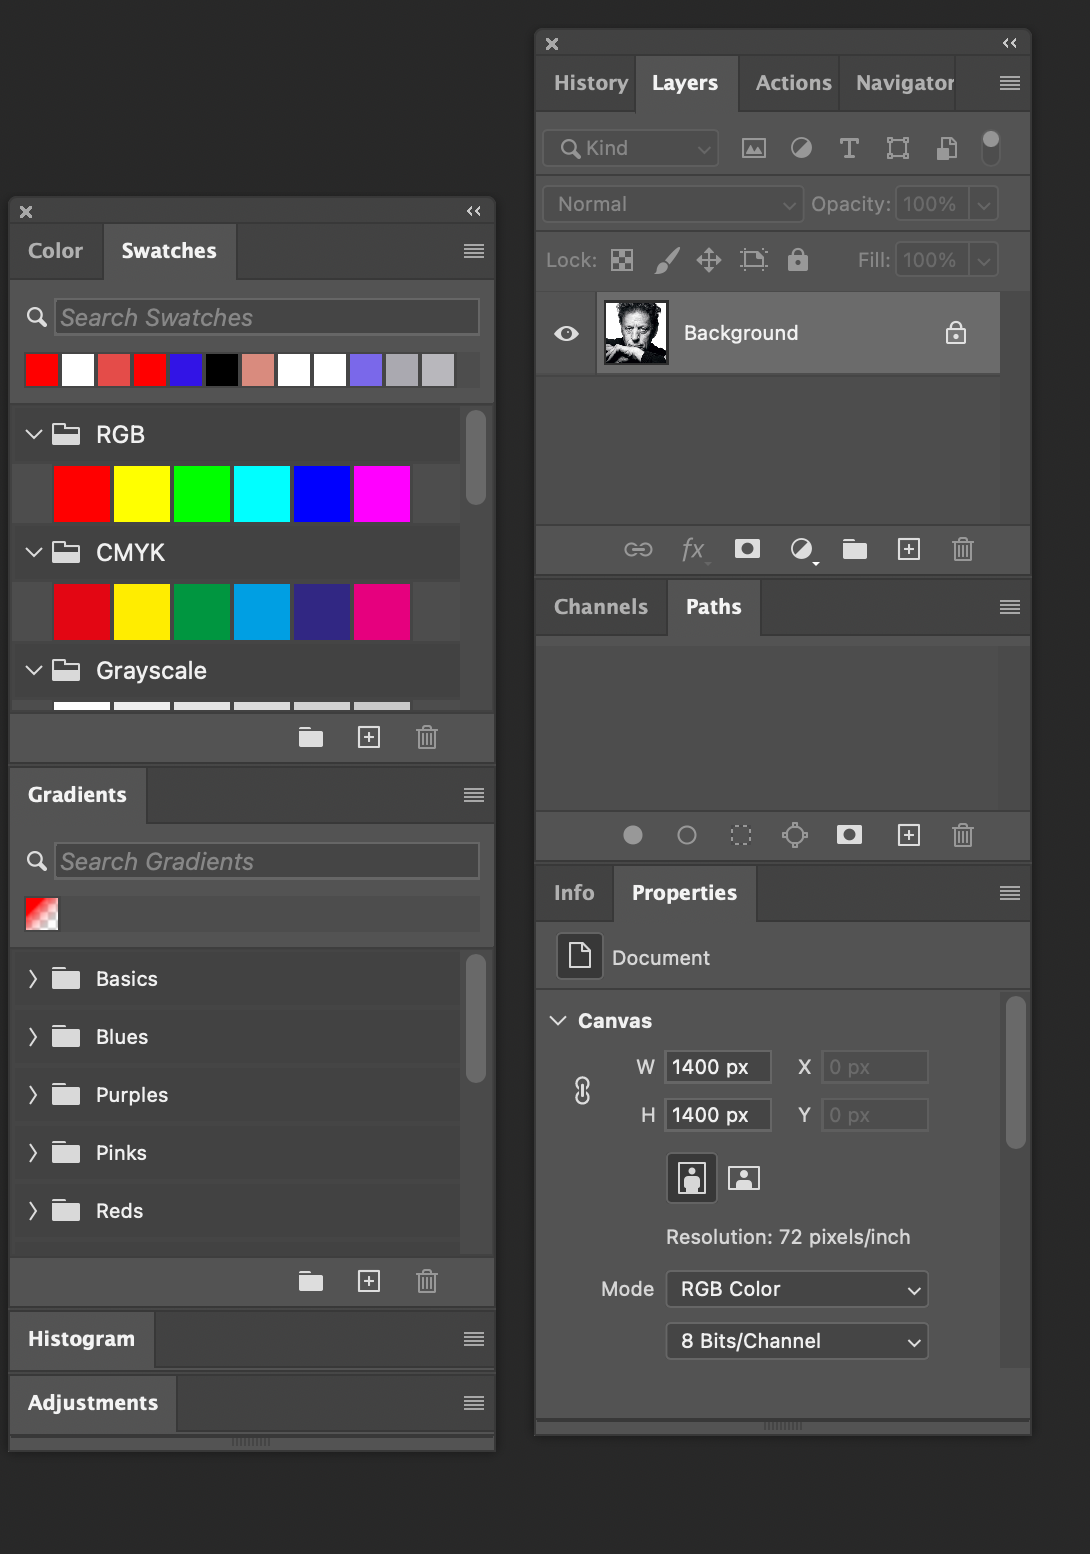
You minimise the panels so you just see the icons and this gives you more space.

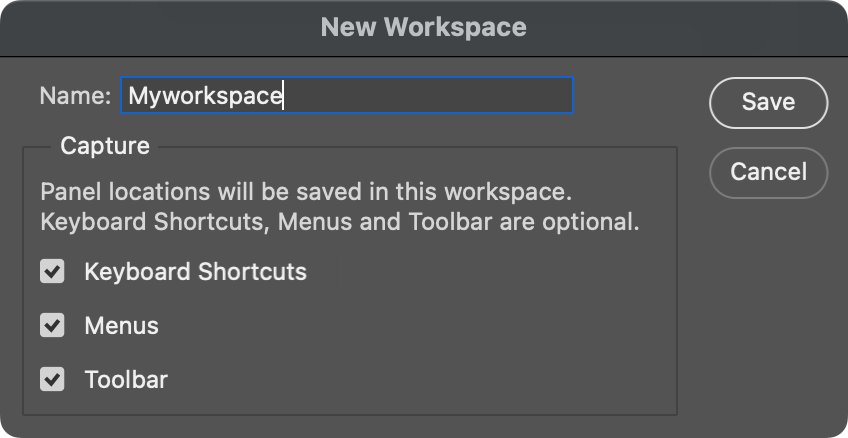
Then you can save your workspace to get it back later...
The workshop / exercise
This is designed to give you an experience that relates to the cover assignment.
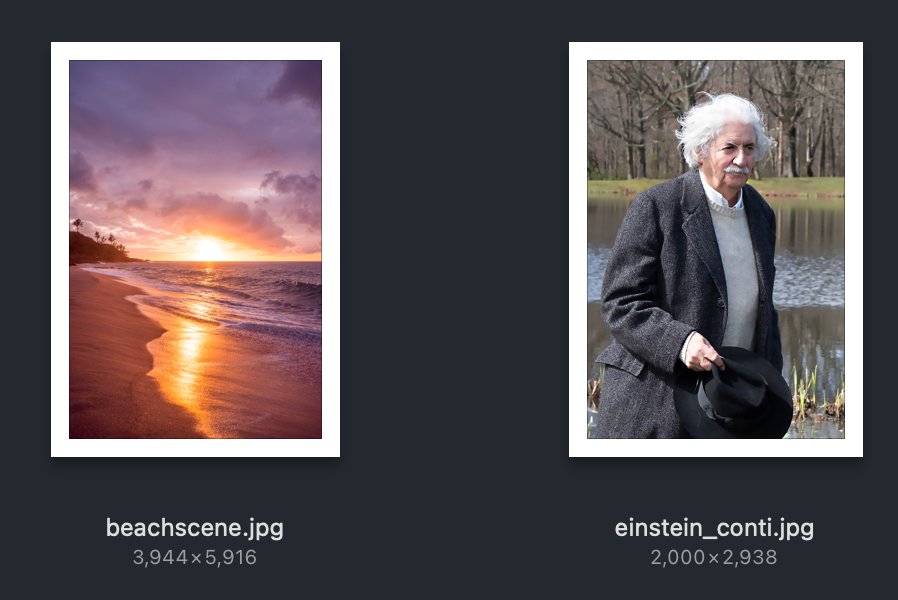
We need these 2 files first (get these from Moodle)
First we will start a new Photoshop file and this should be A4 in CMYK and 300dpi.
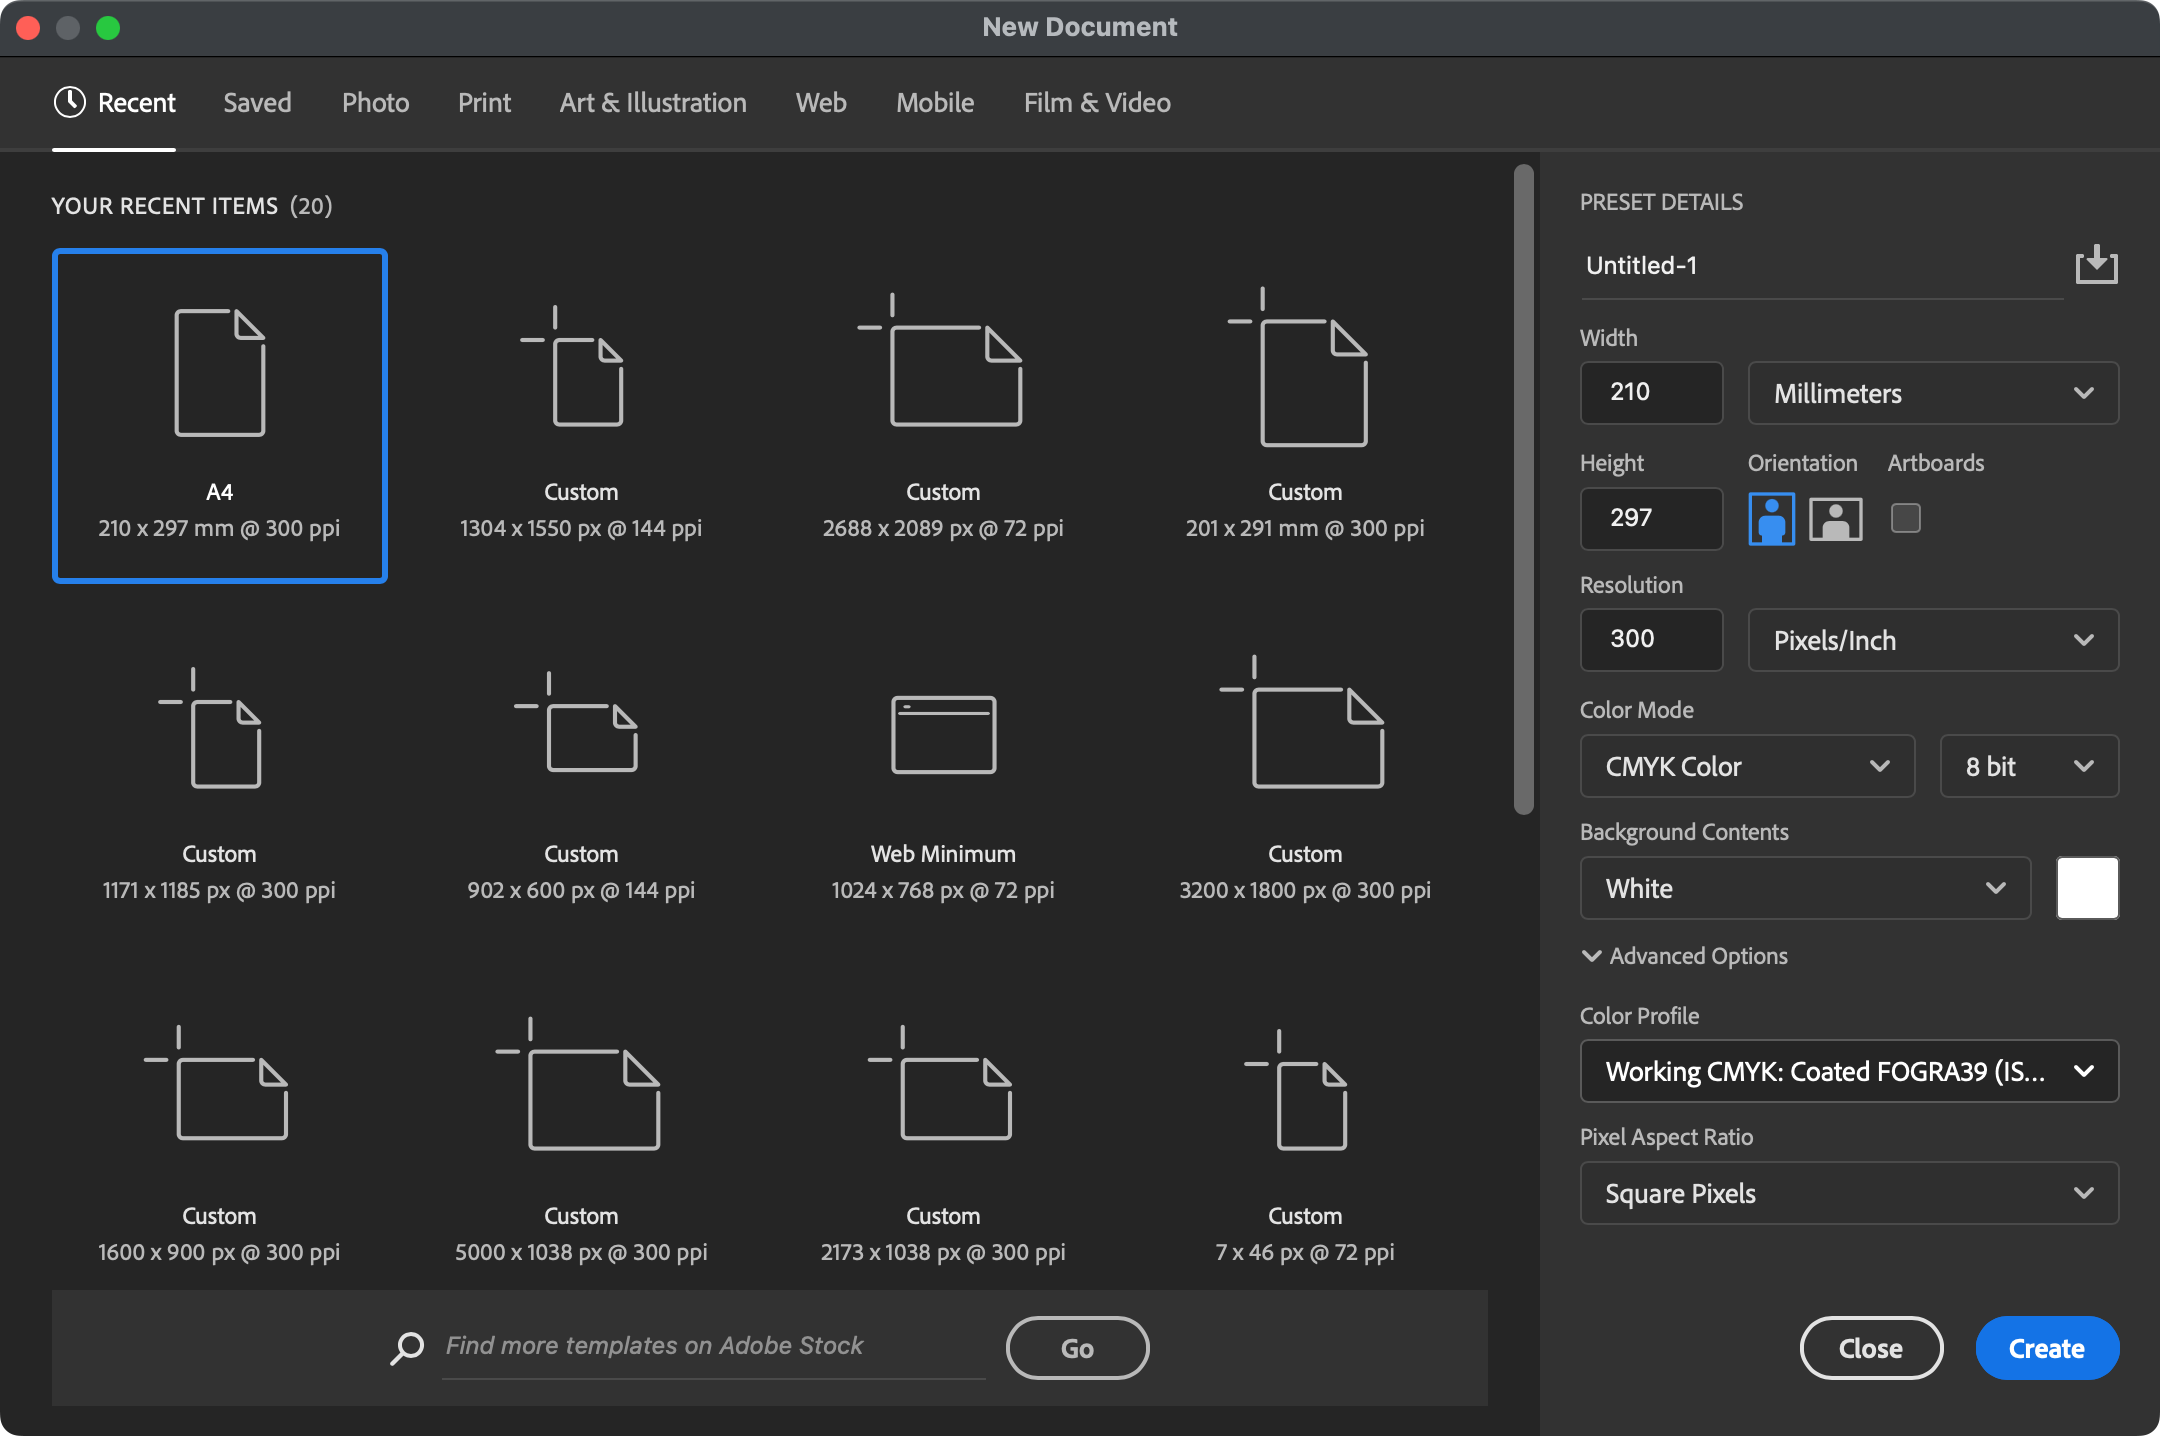
Note
When you start you own magazine cover you need to refer to the size given in the spreadsheet on Moodle
Save this somewhere.
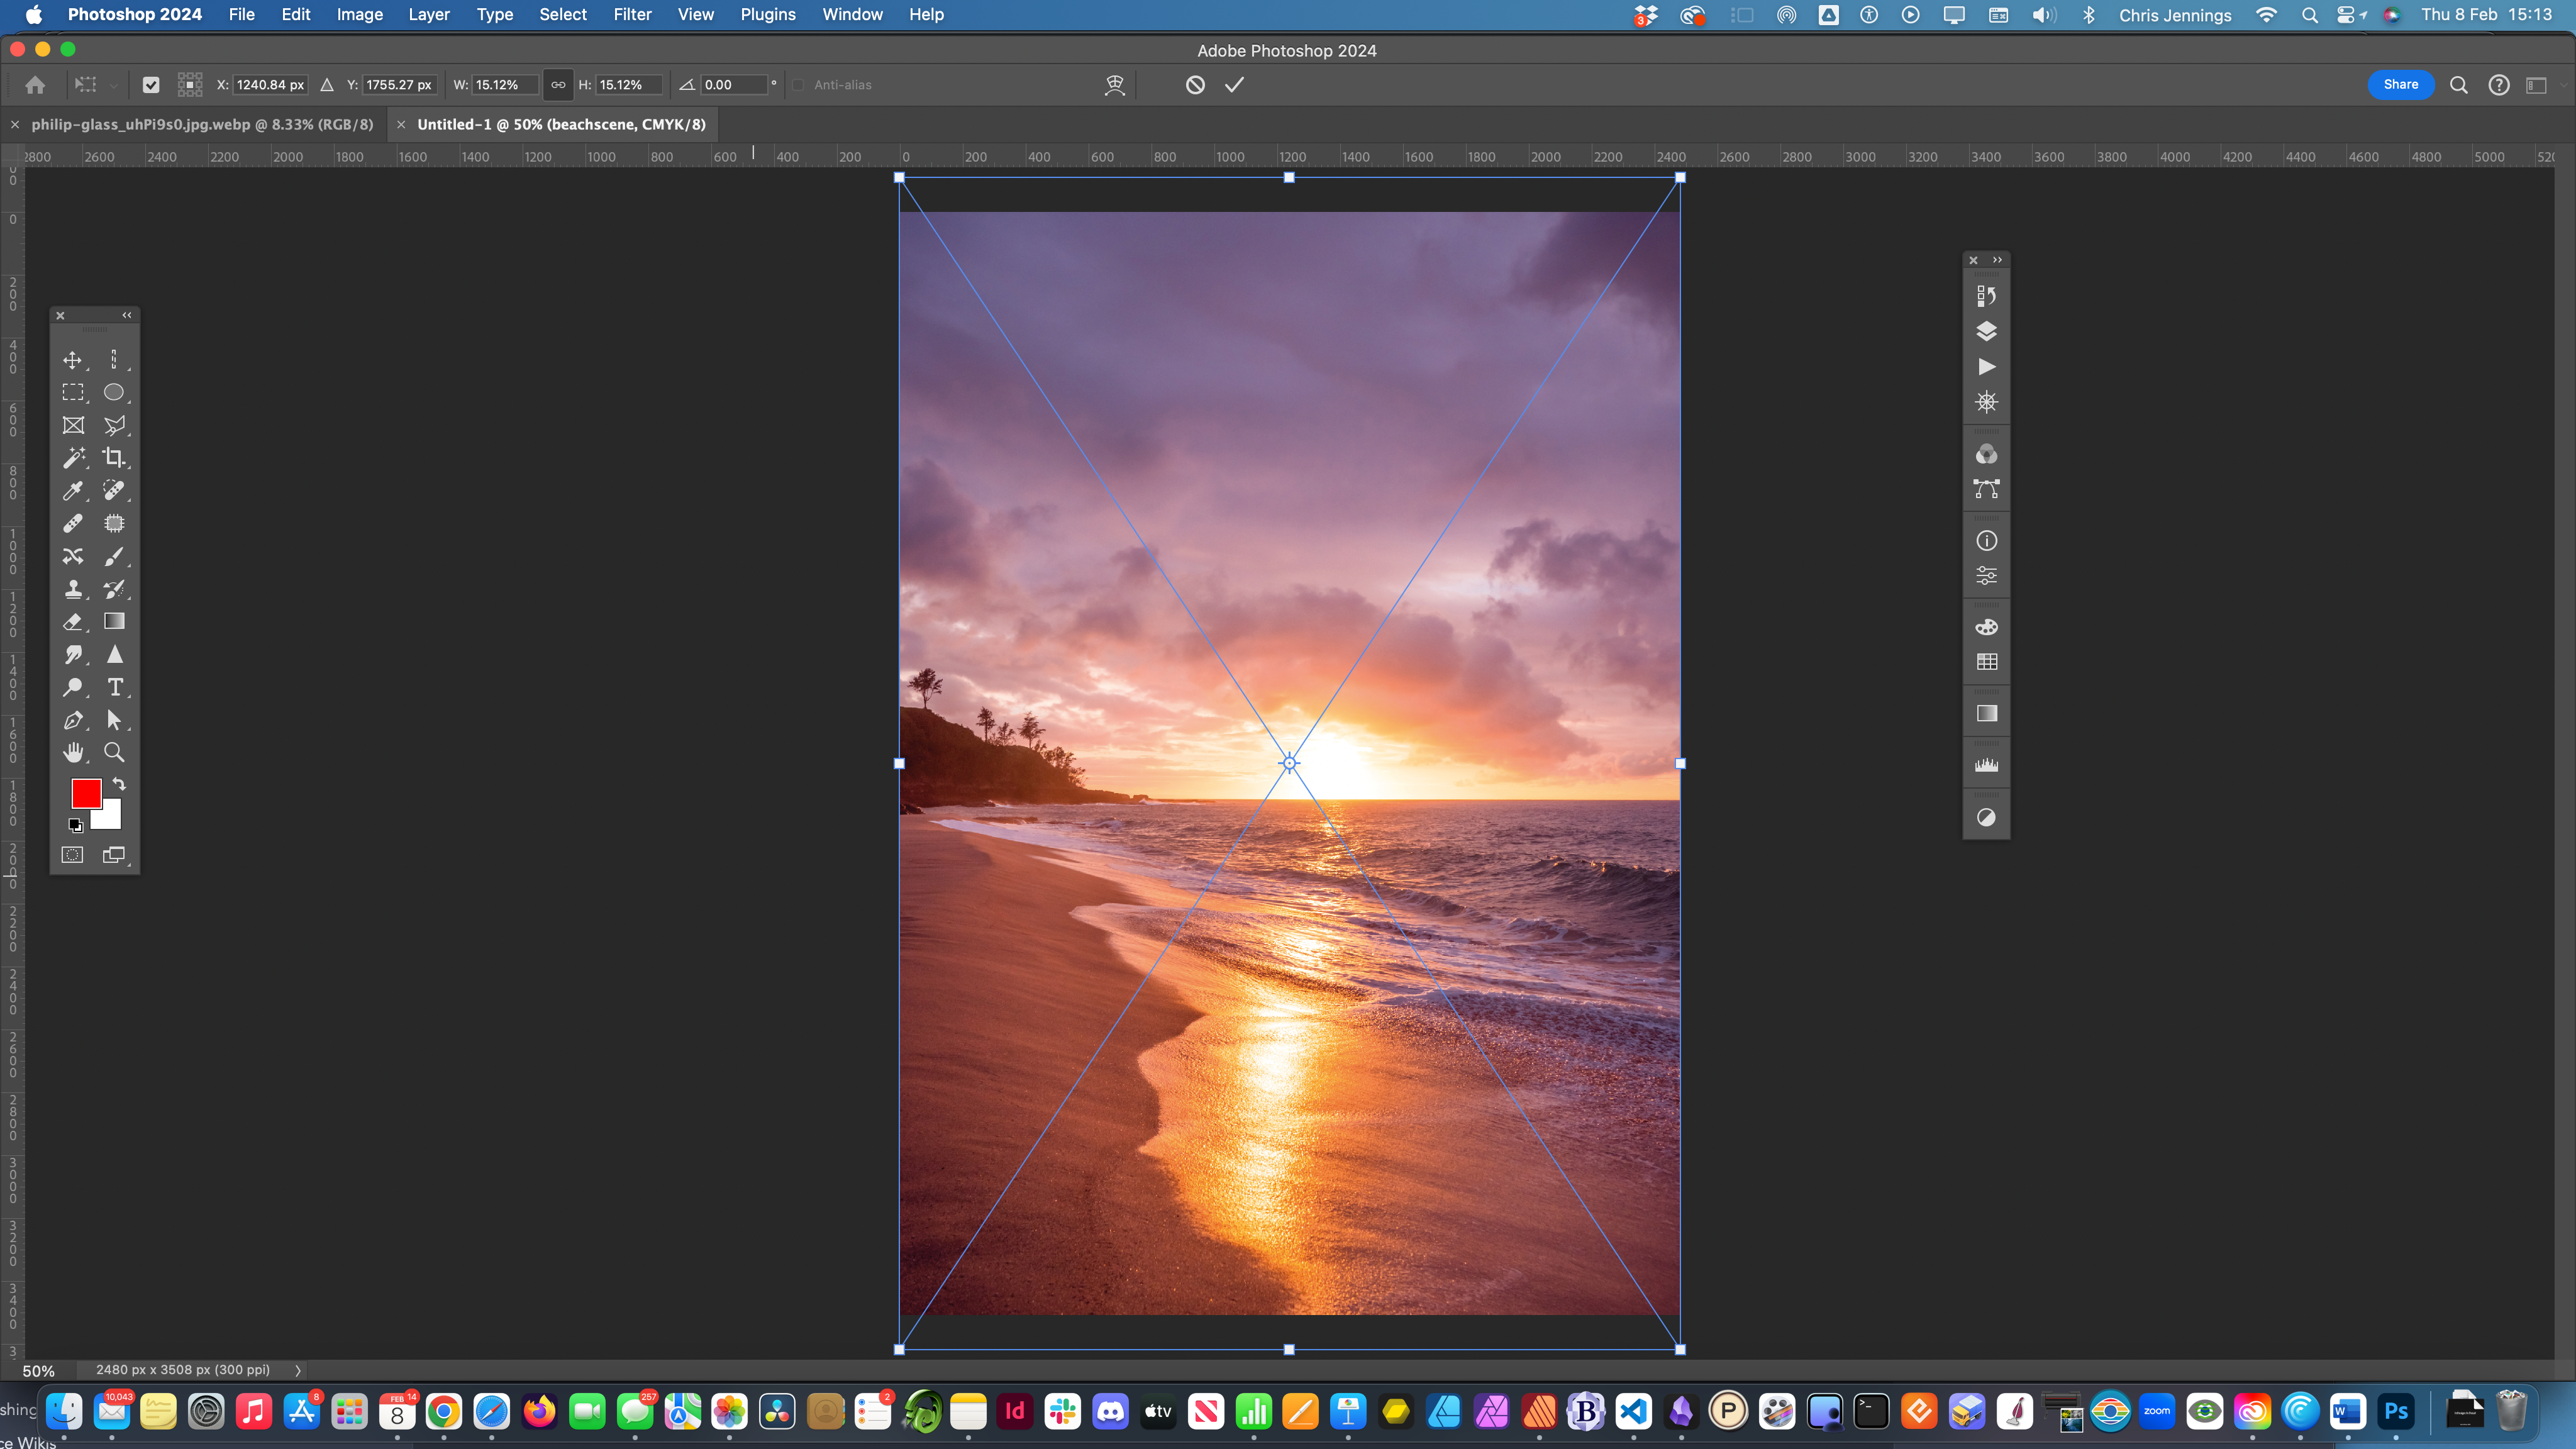
Now Place (on the File menu use embedded) the beach scene image.
Resize to fit... and then click to confirm
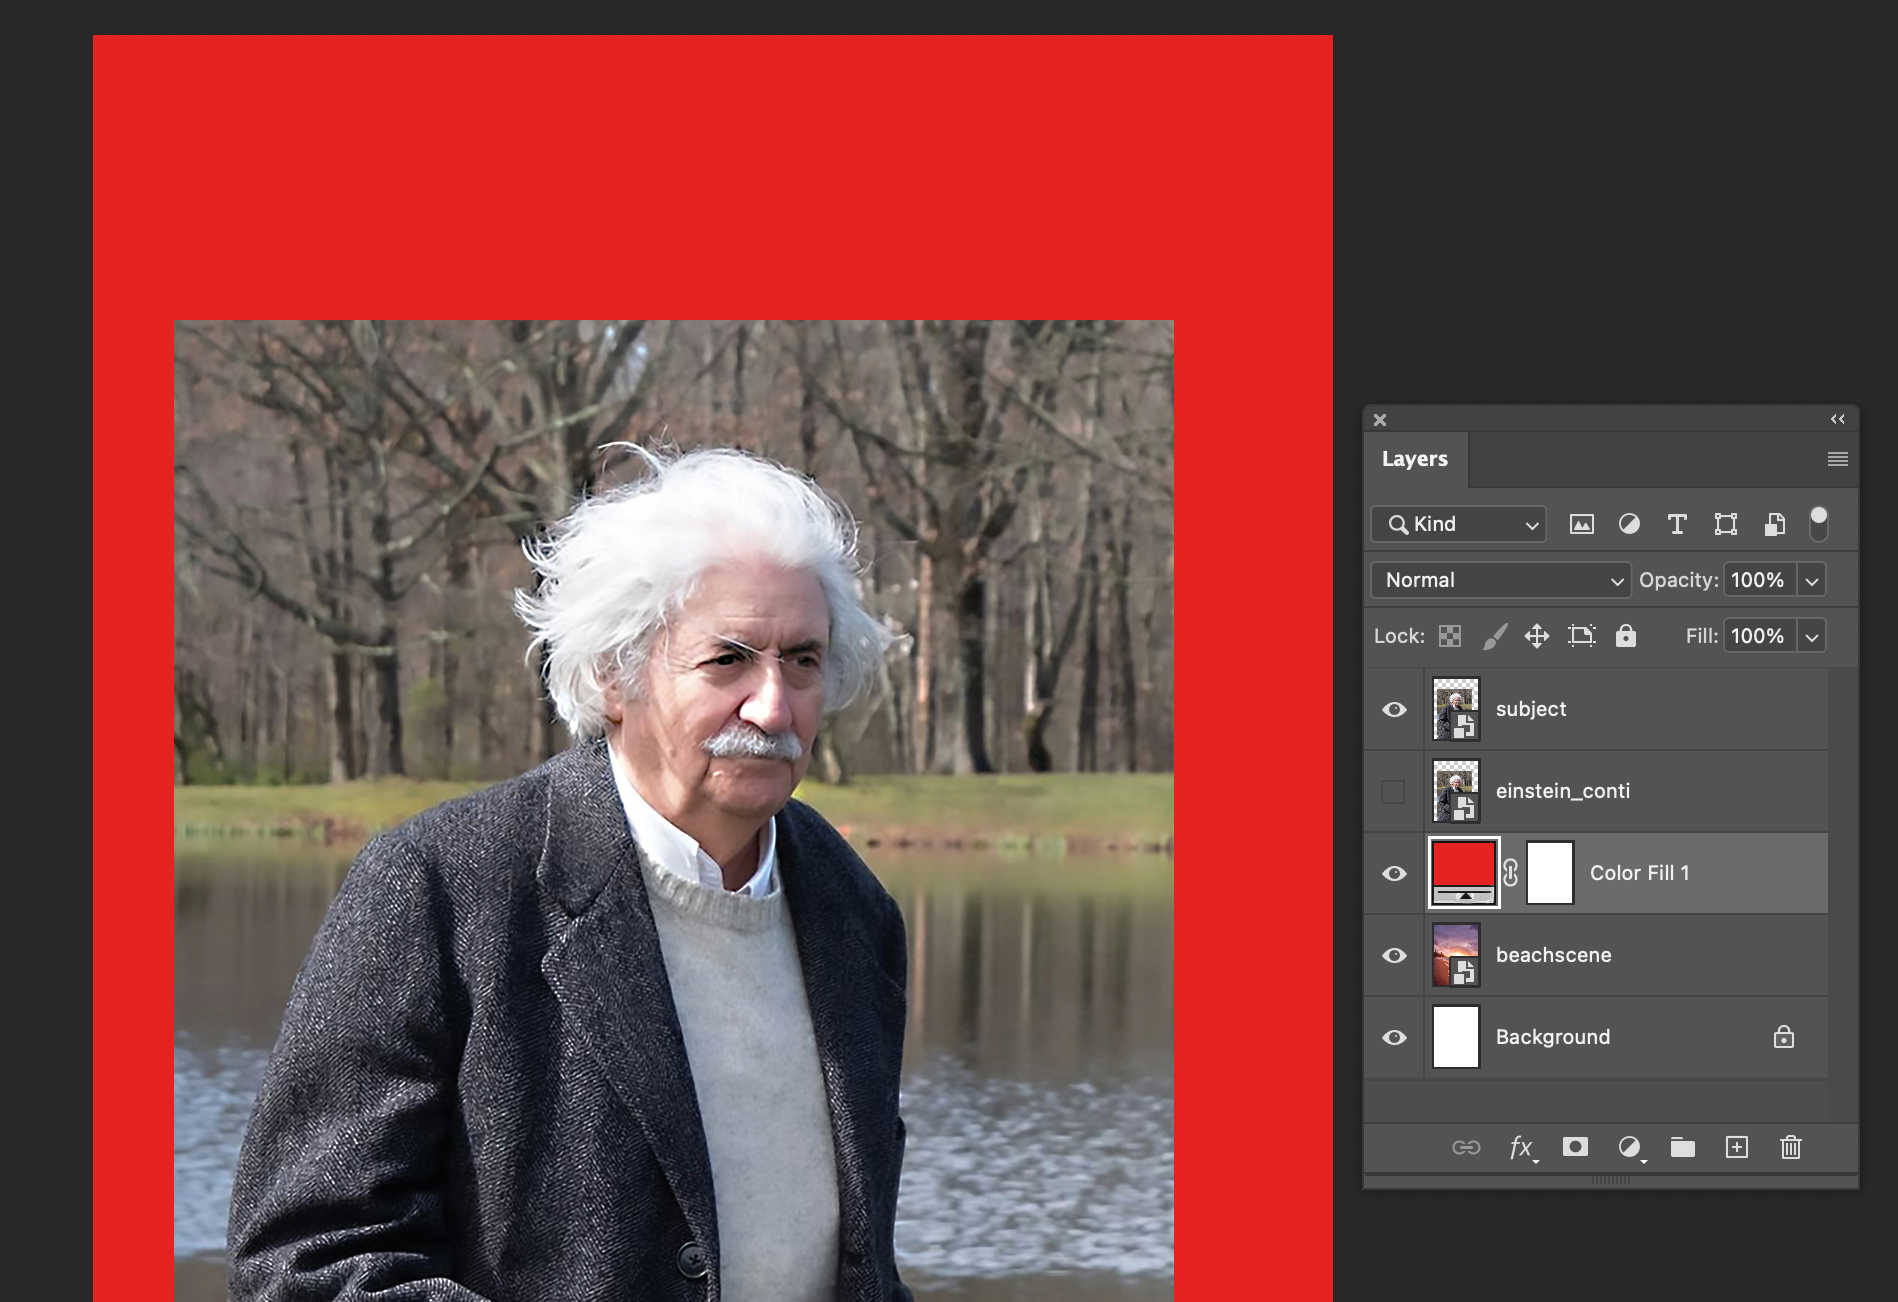
Place Embedded the einstein image and position at the bottom
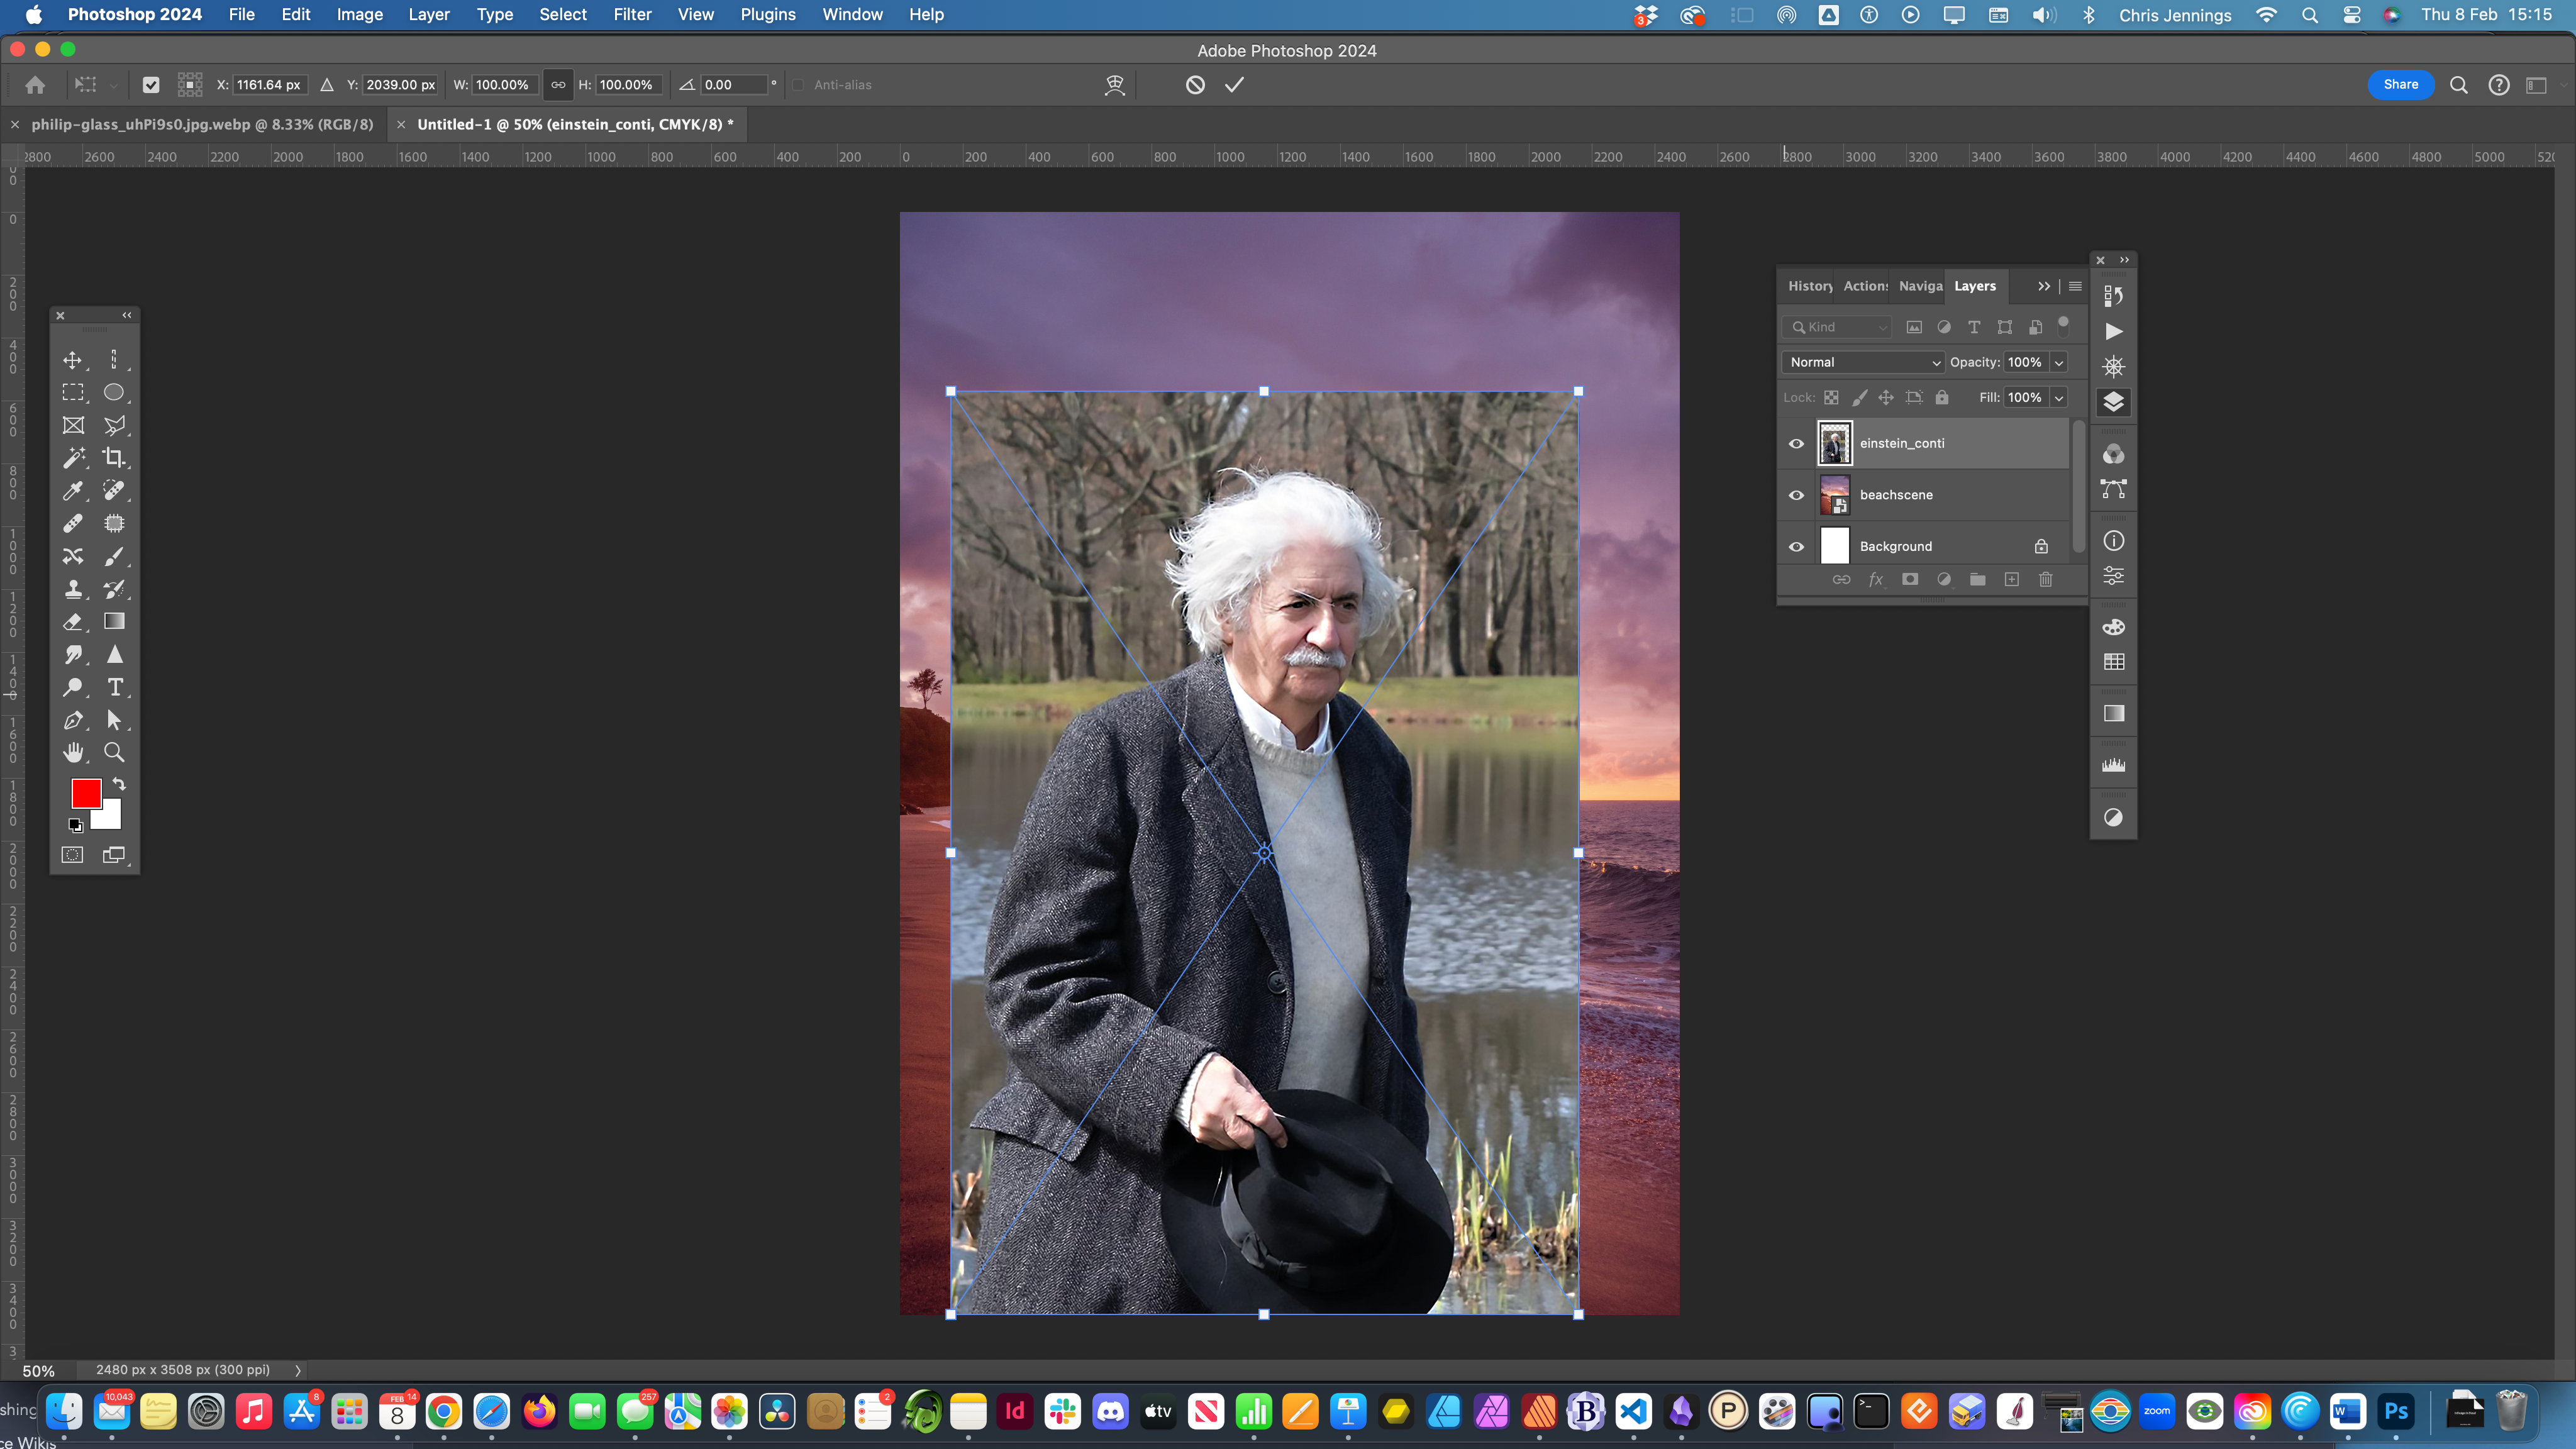
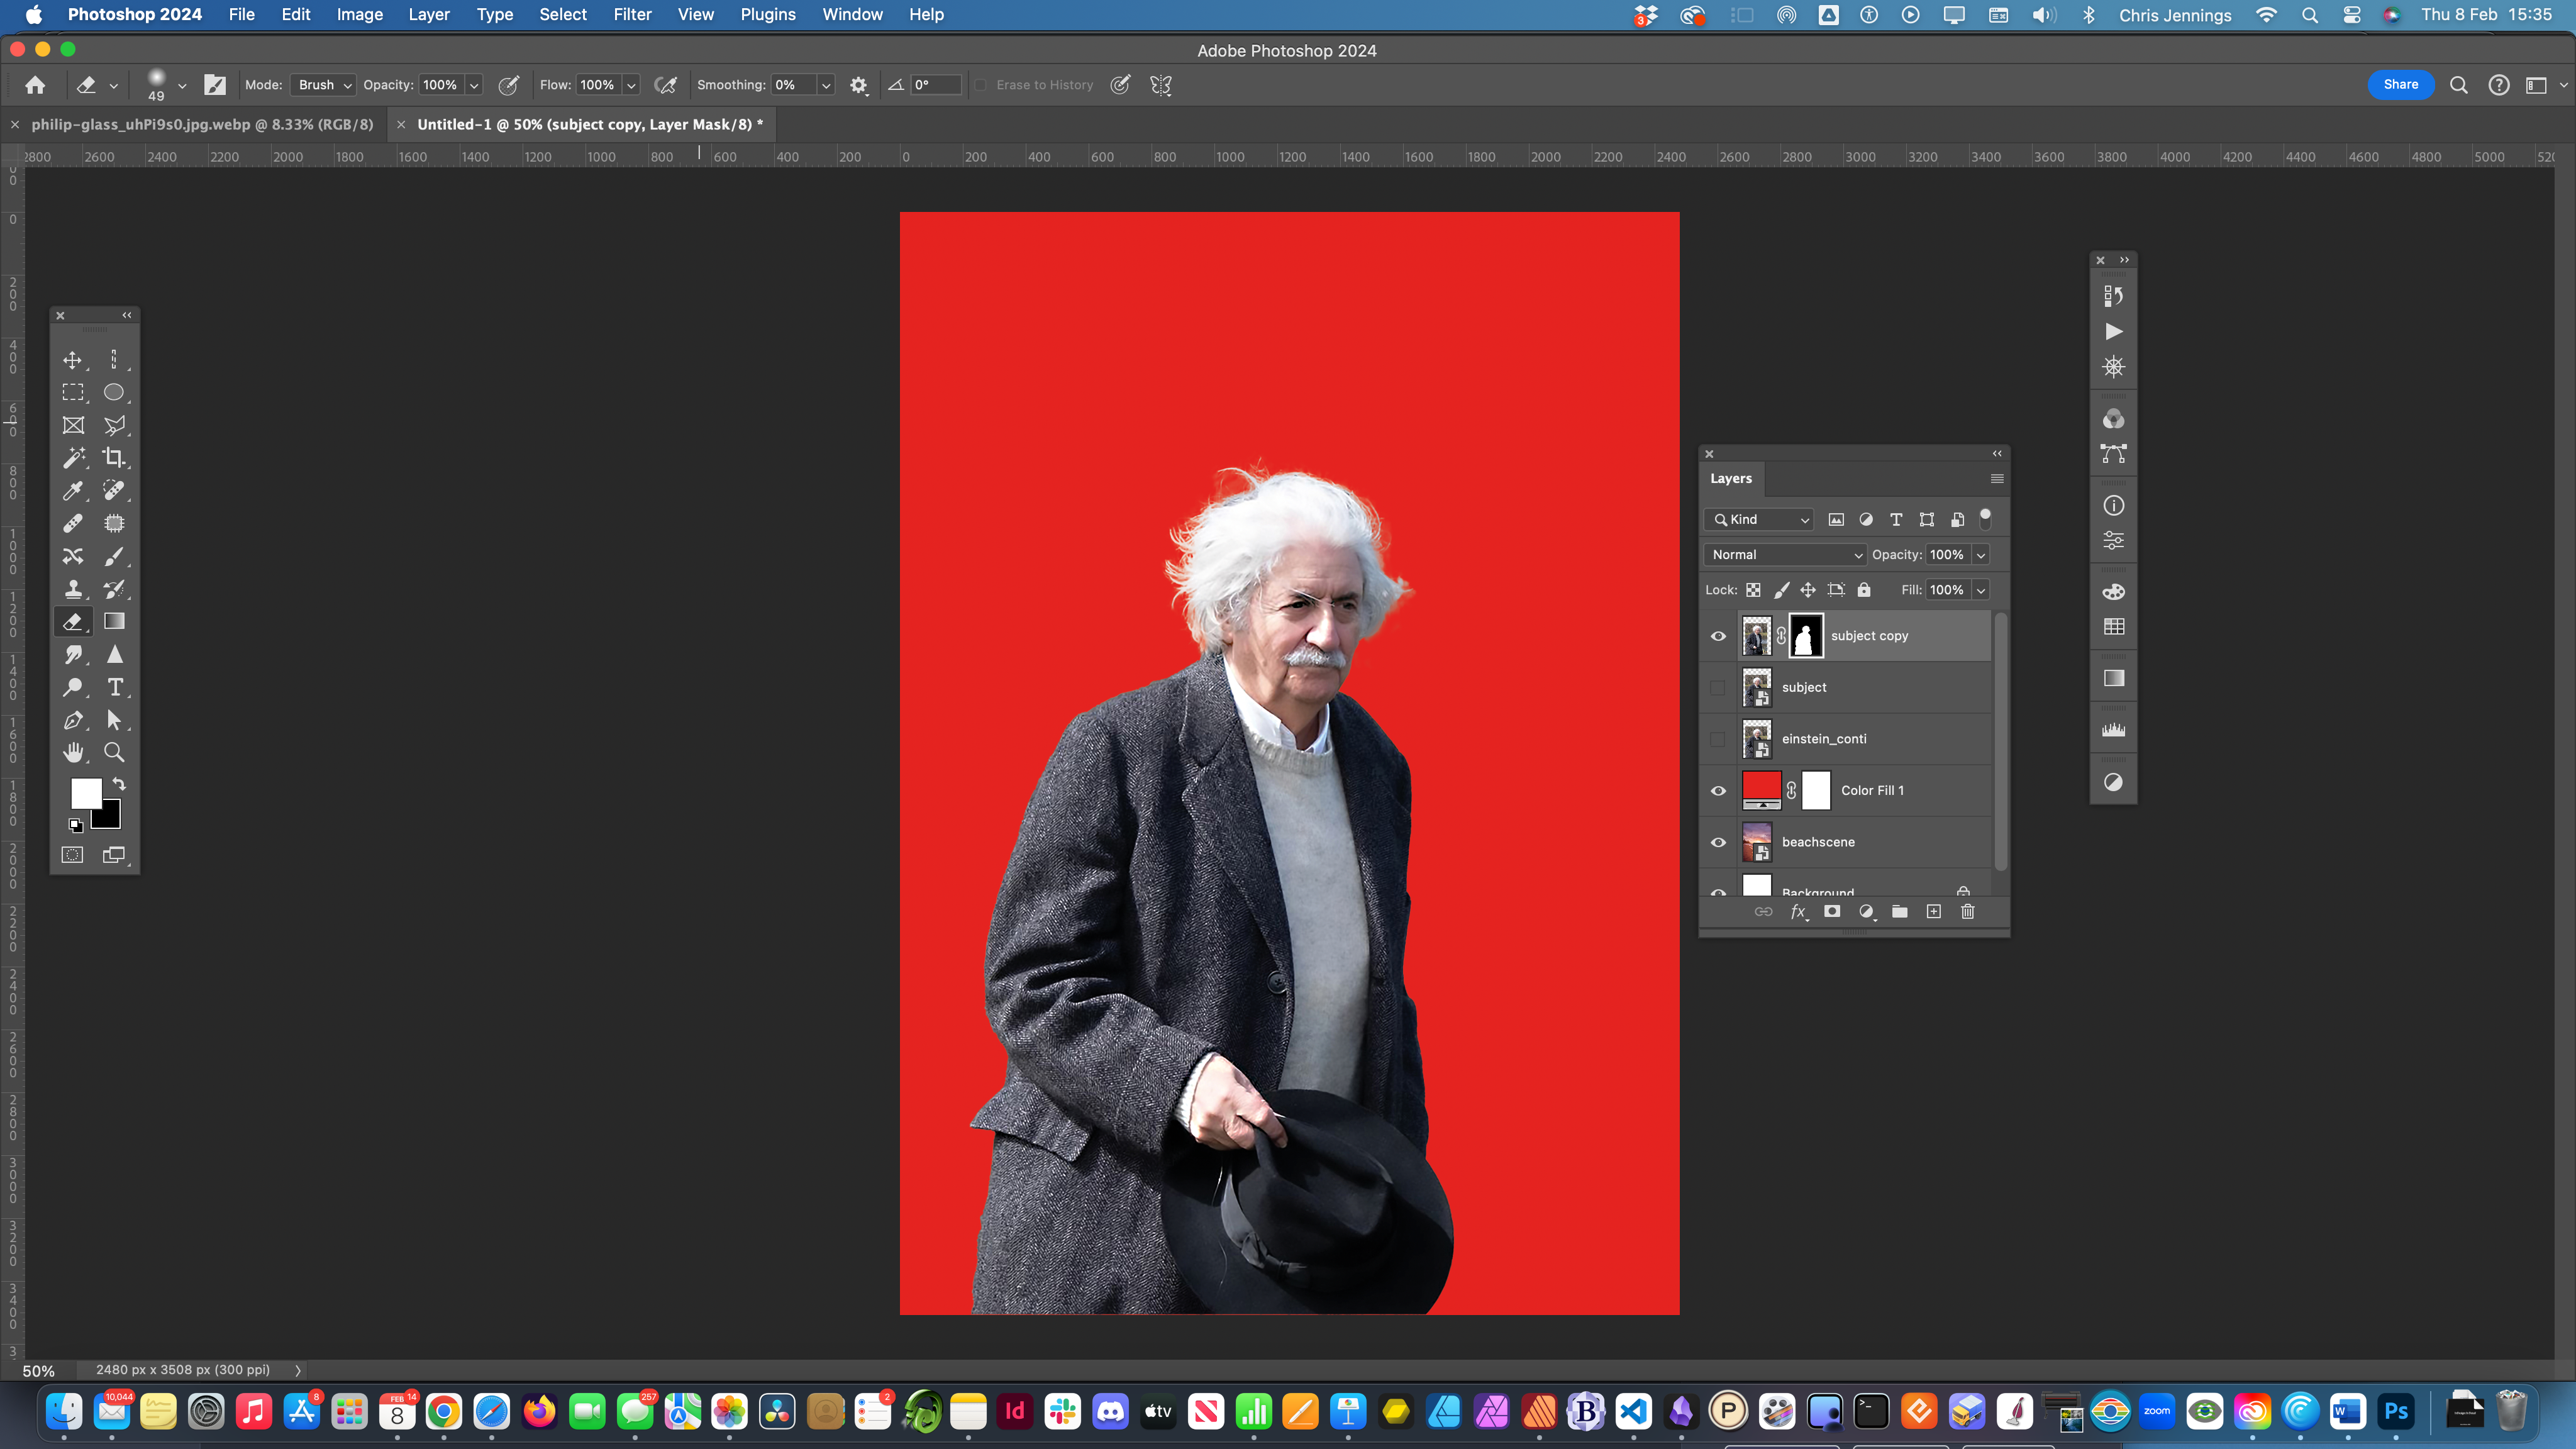
Duplicate that layer and name it
Hide the original layer (click the eye icon) and create an adjustment layer below the new copy and choose solid color with any solid bright color.
Getting rid of the background
There is more than one way to do this but here is my method:
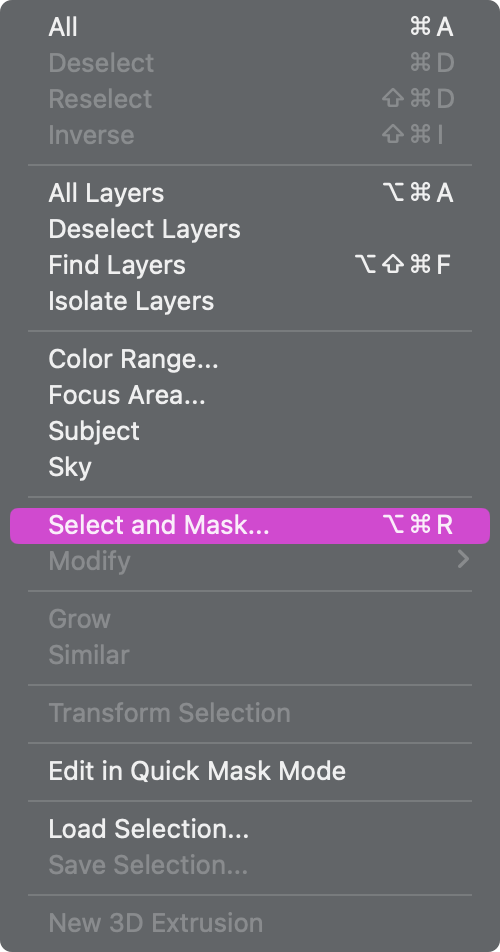
With the top layer selected go to the Select menu item and choose Select and Mask
This panel may look different for you; please use these settings but do not press OK yet.
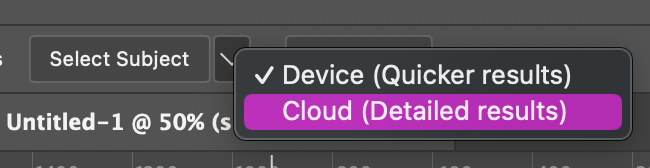
Find the Select Subject at the top and first choose the Detailed Results and then click Select Subject
Here is what we should see
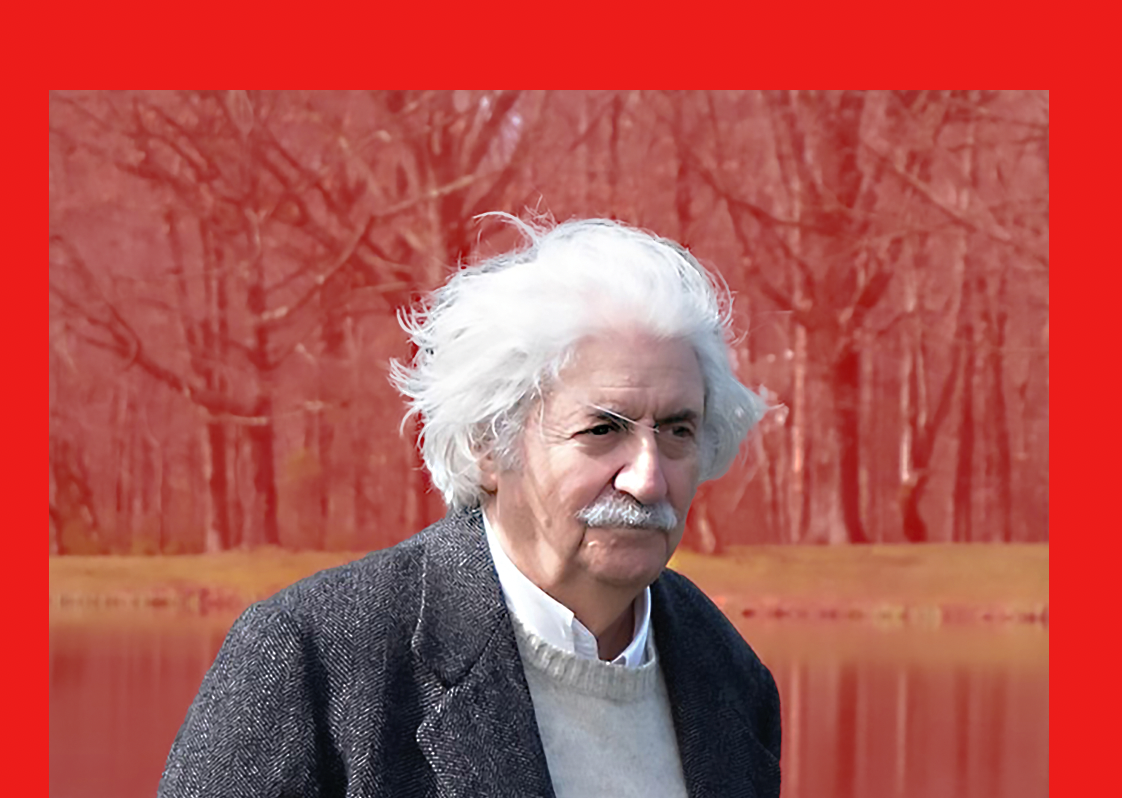
You can now click the Refine Hair button and this will make a difference to the detail around the hair.
Make sure that the Properties Panel shows New Layer with Mask and then click OK
You might need to use the Eraser tool to remove any remains of the background.
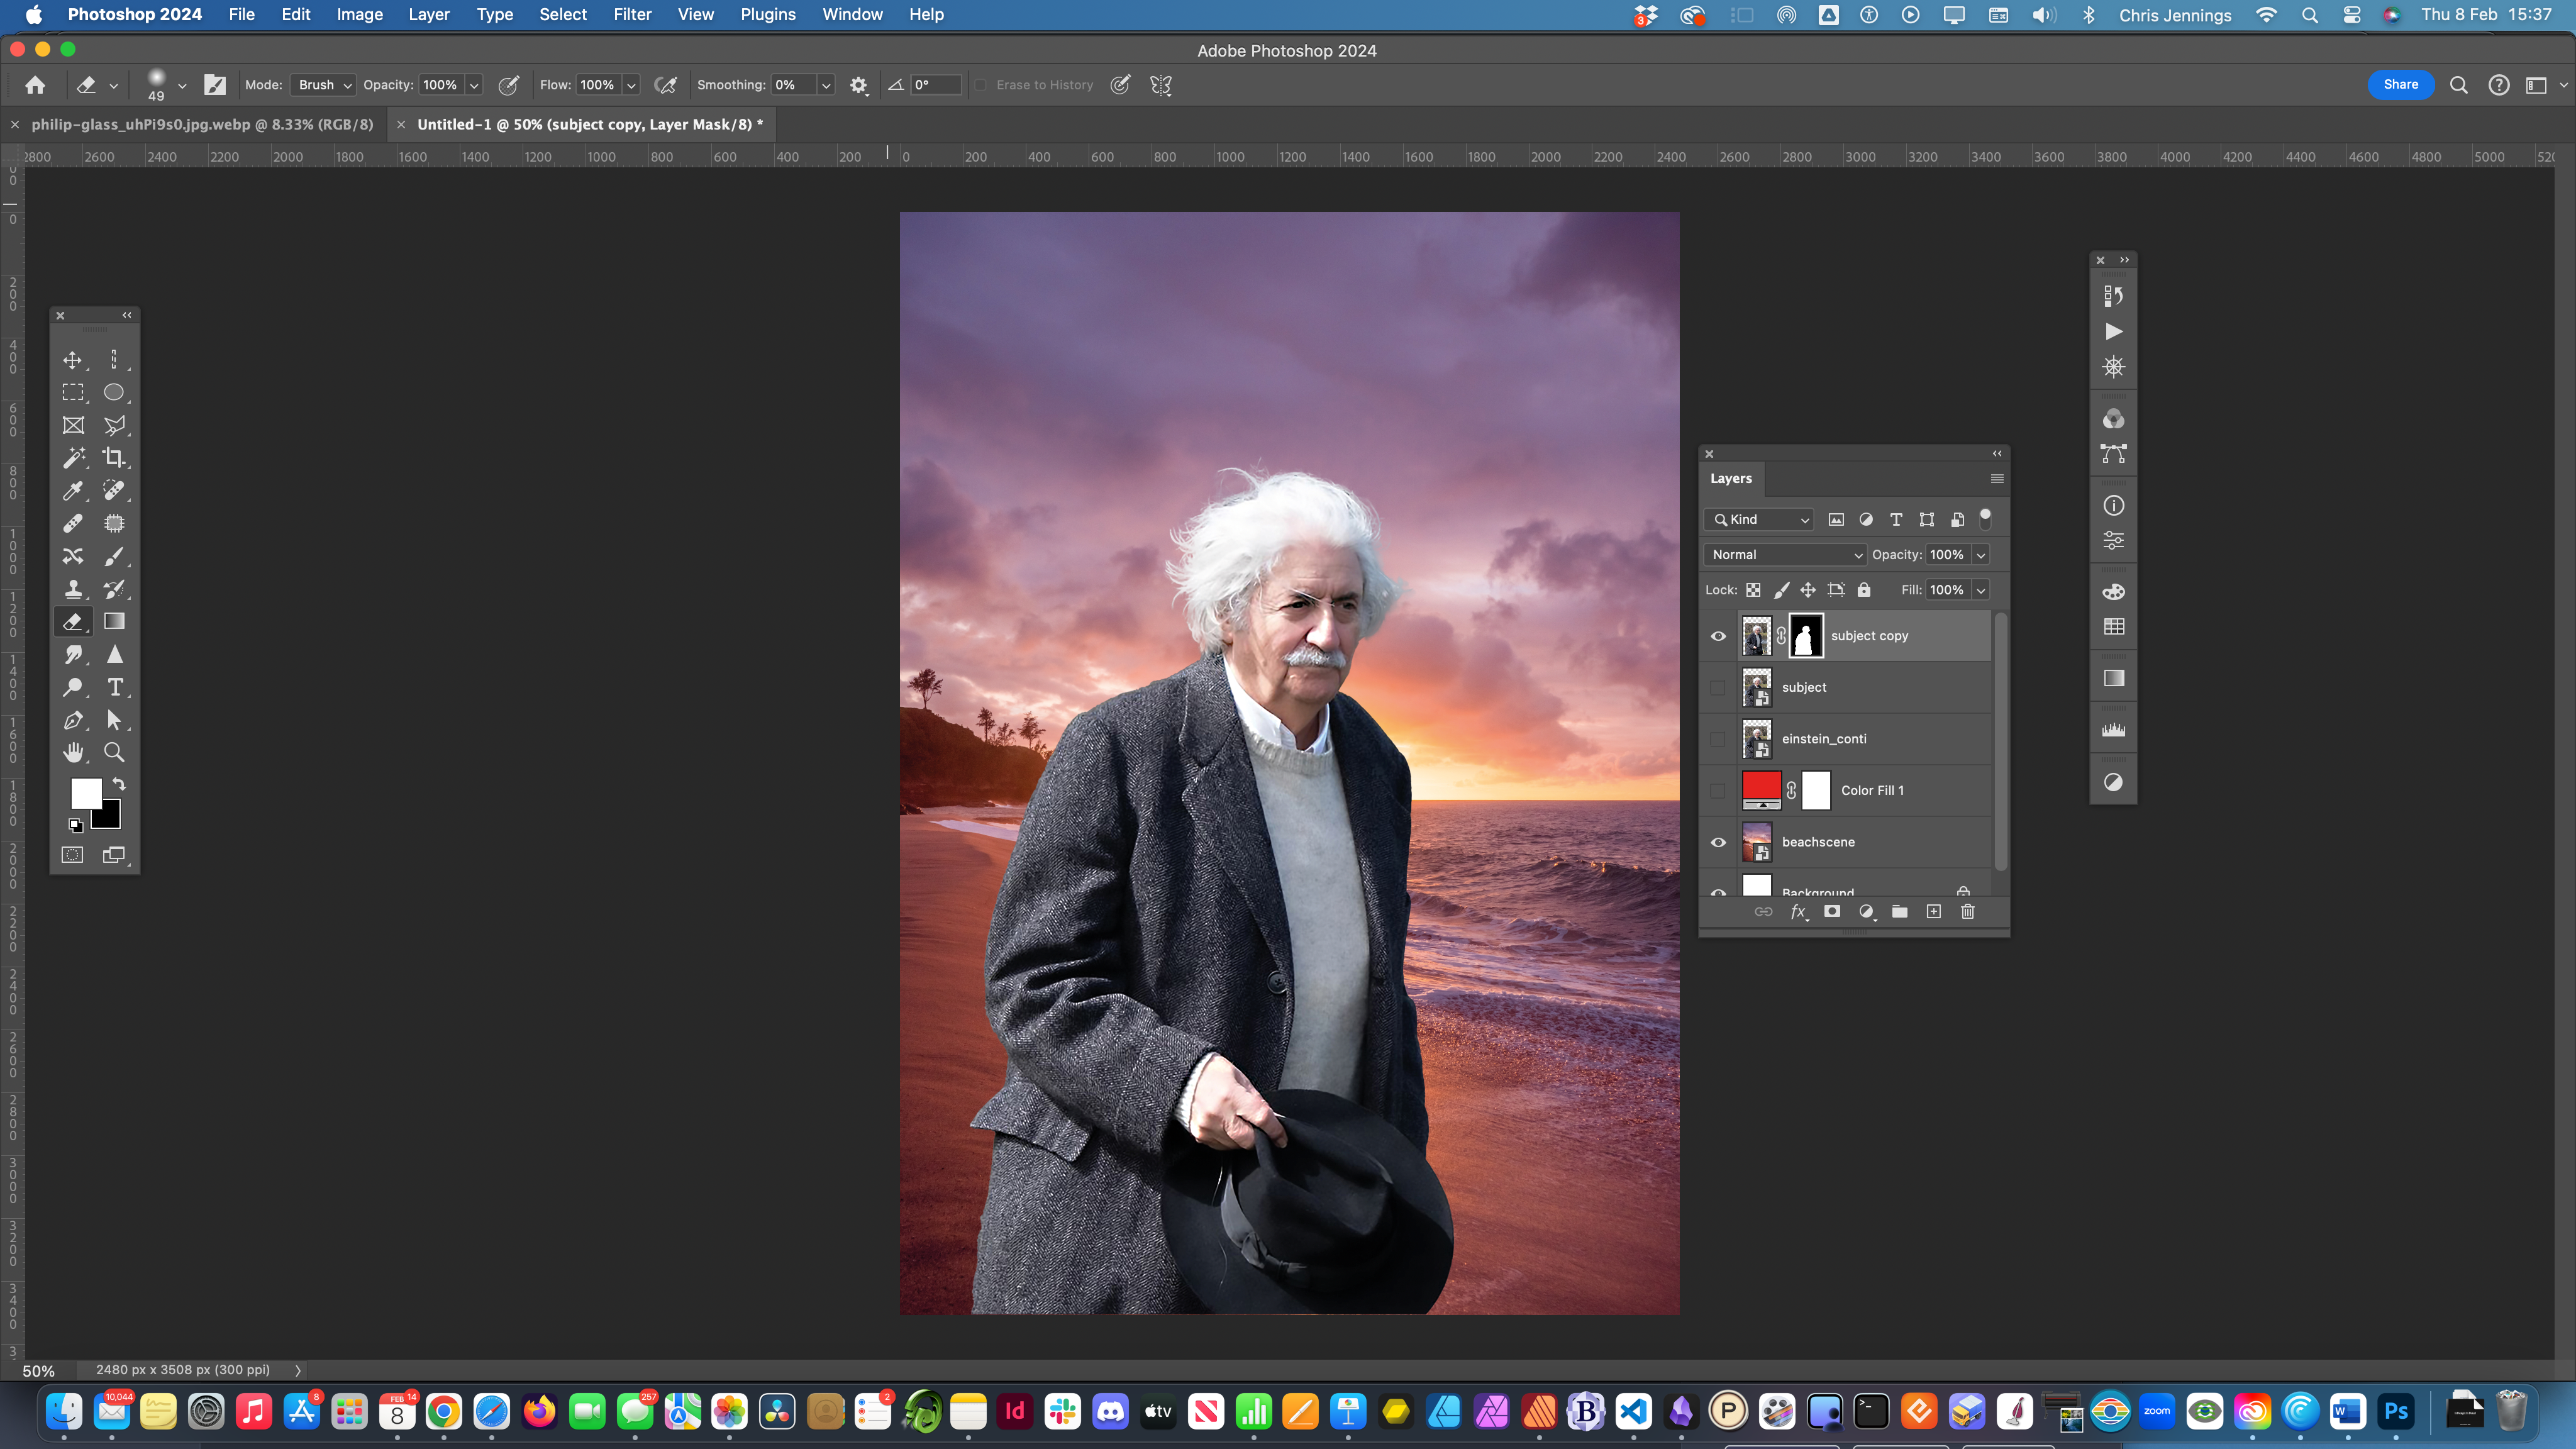
Hide the Color Fill Layer and we have Einstein on the Beach. You can move him around as you like.
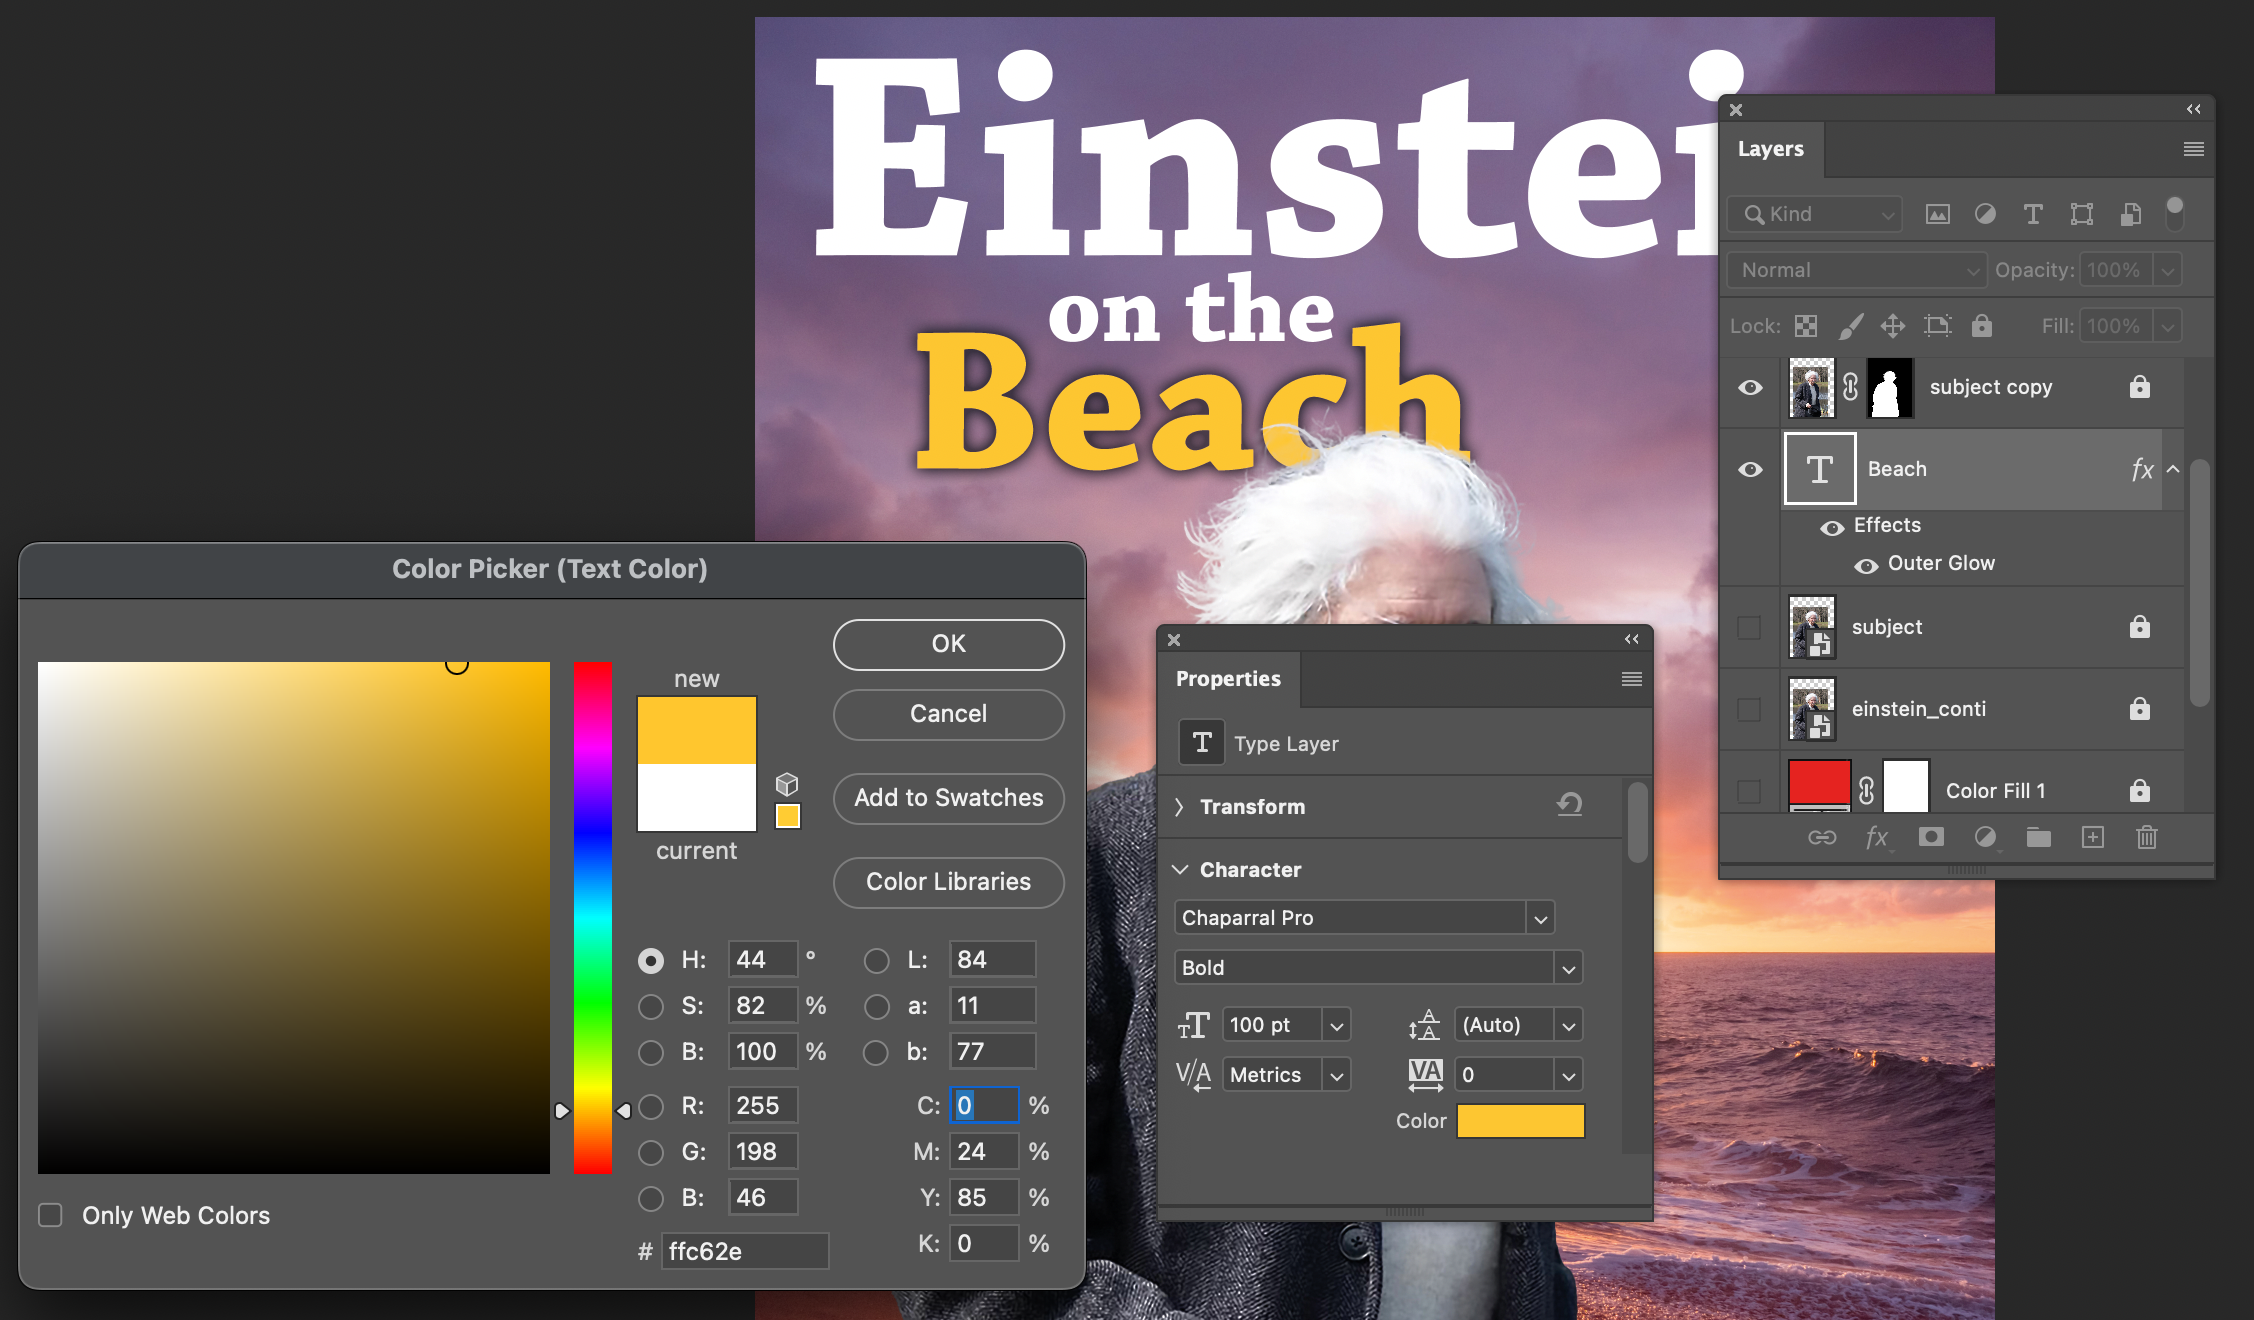
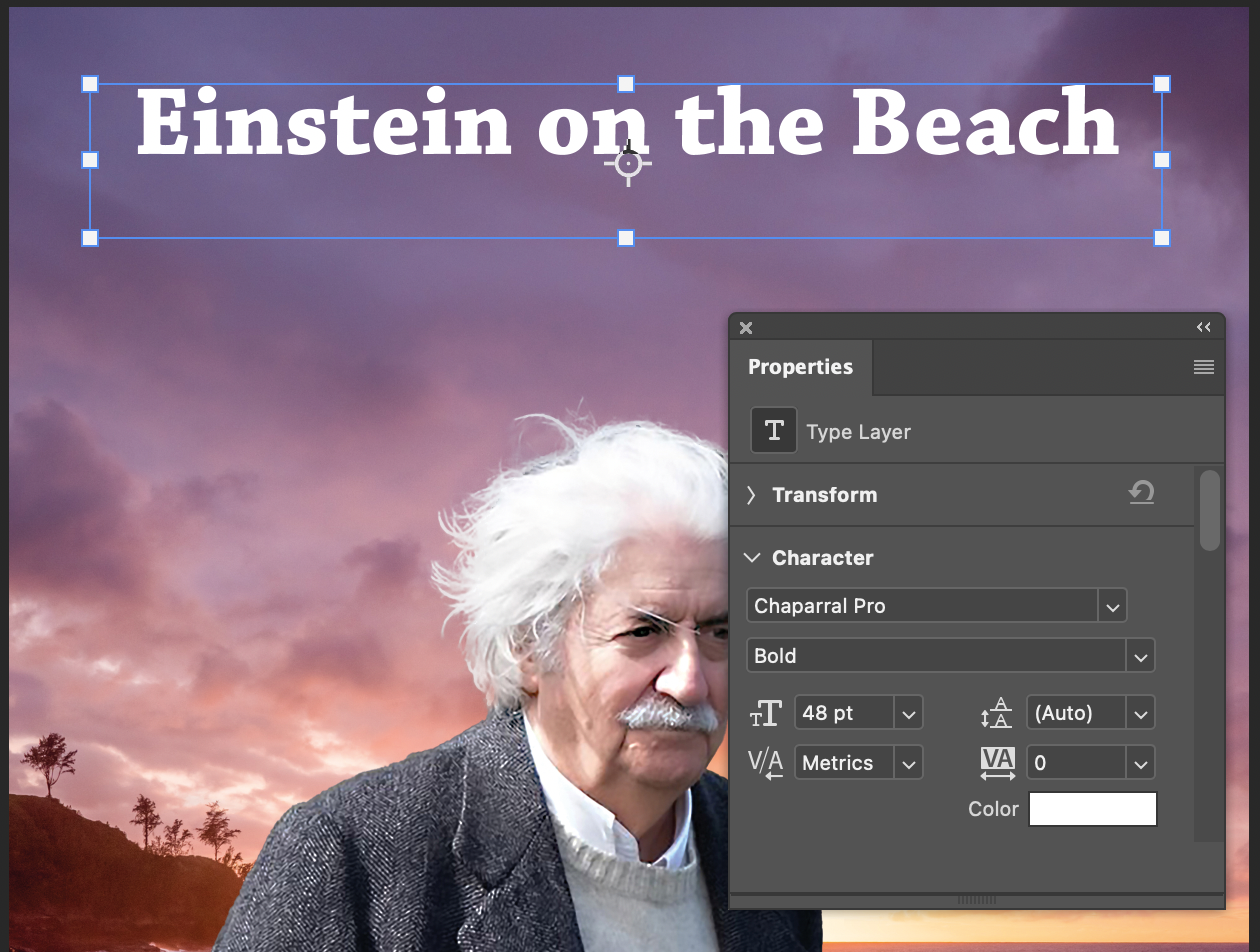
Adding Text
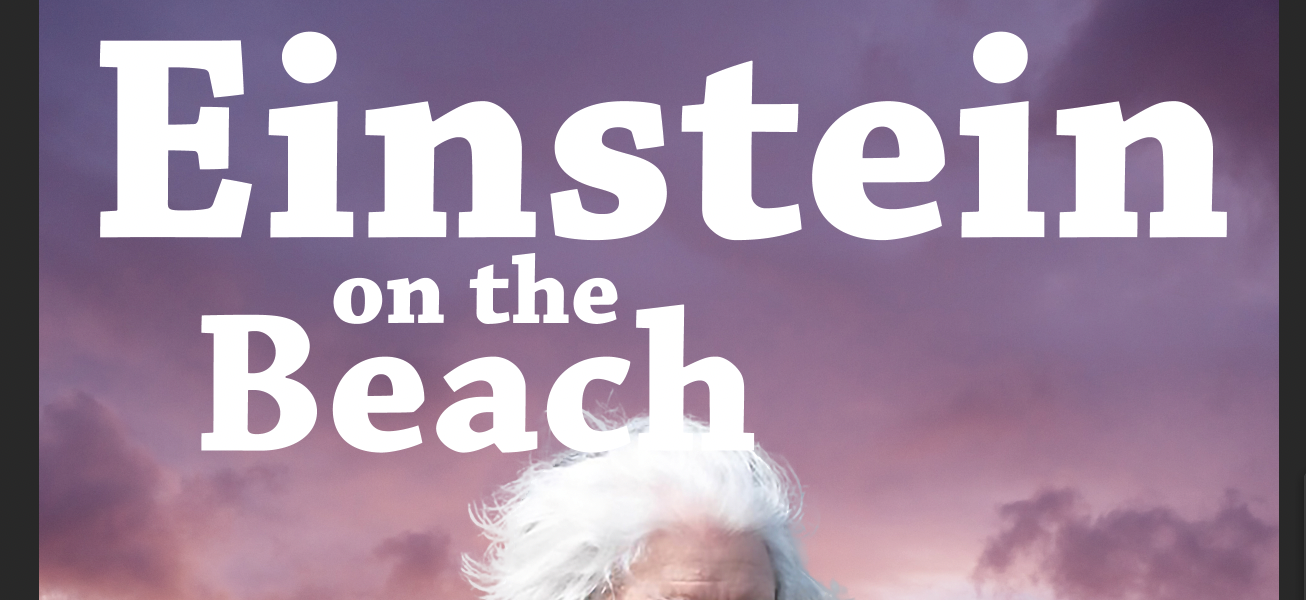
First we create a text box with the text tool. (T in the tools) and then replace the Lorem iprum text with Einstein on the Beach
We can change the typeface though the Properties panel
Maximum Flexibility
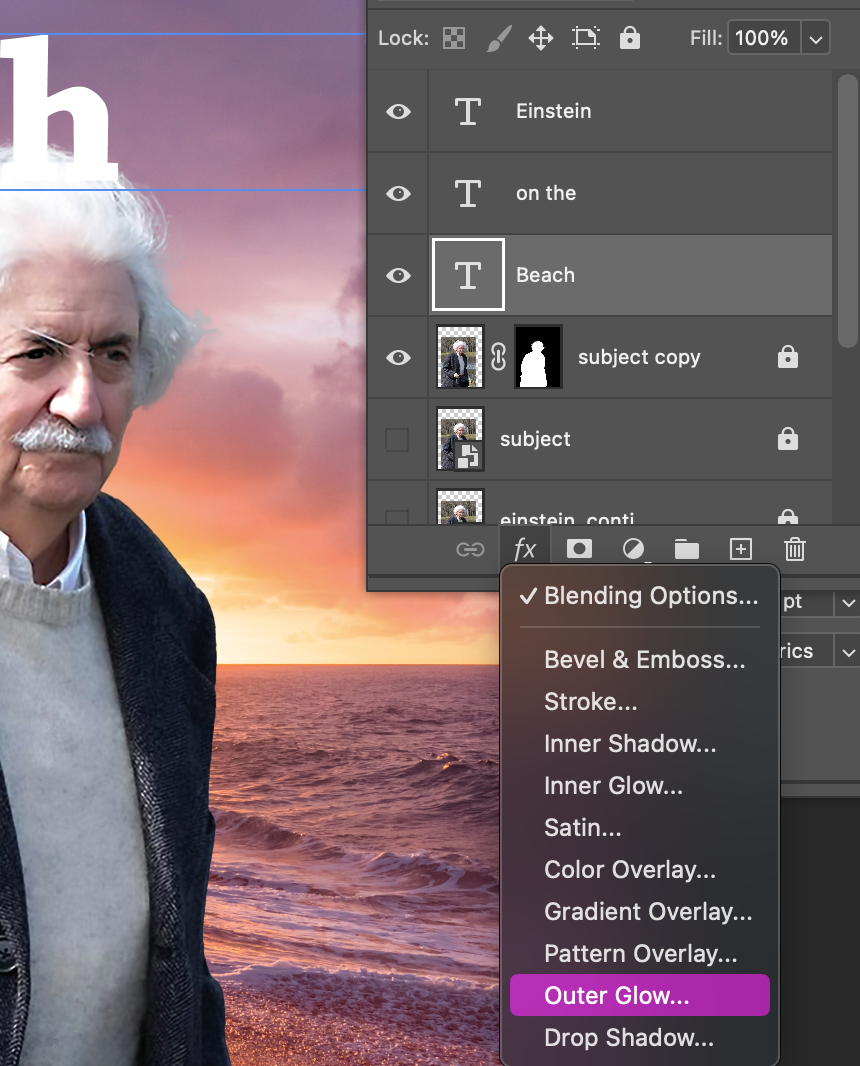
Now we are going to use this text separated out into 3 lines by copying and pasting 2 more copies. We can do this by dragging the layer onto the + sign
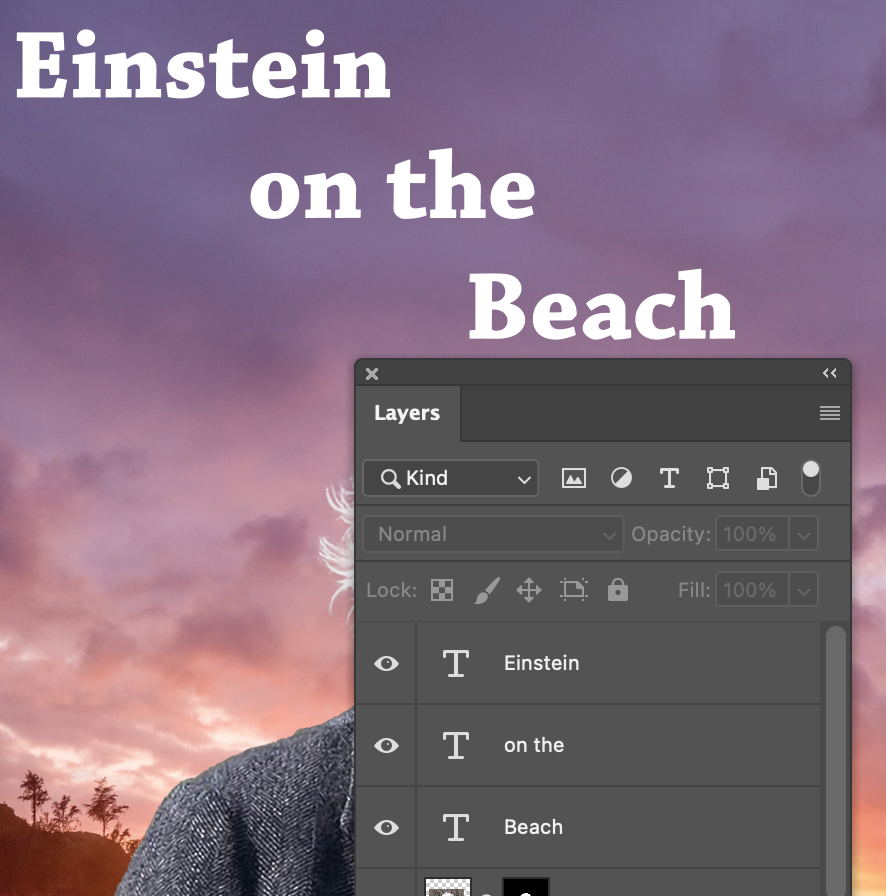
Now we need to change the type size and arrange the 3 lines
Contrast is important for readability
So now we can use the Effects panel to add an outline (Outer Glow) where needed.
We see here that word goes over the head...
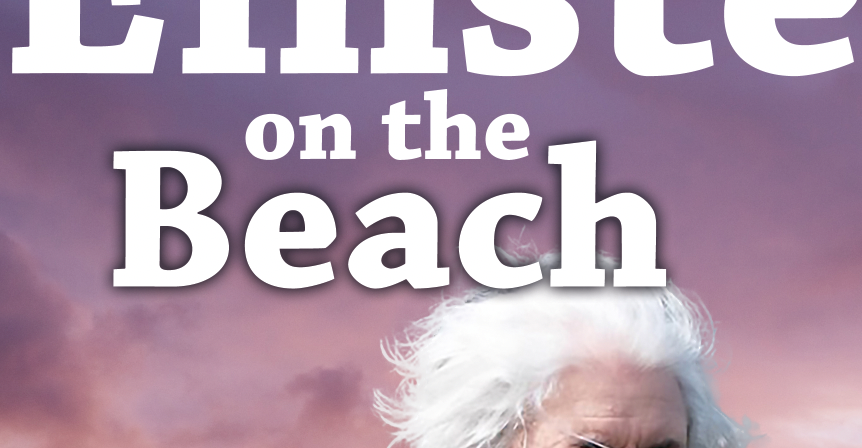
But we can reorder the layers and put the text under the head and even change the colour...